Episode 0: Avalanche
EXP values are listed as "base" values only (the number you would see within the save game file) and are not modified by your Memory.
- Tutorial
- The Nameless Village
- The Seid
- The Seid: The Hard Road
- Time to Say Goodbye
Tutorial (+30000 EXP)
The first set of encounters acts as a tutorial, with each encounter introducing one of the 4 base skills. If you elect to skip the tutorial, you will receive all 4 skills during the first encounter, but will be required to go through all of the encounters anyway.
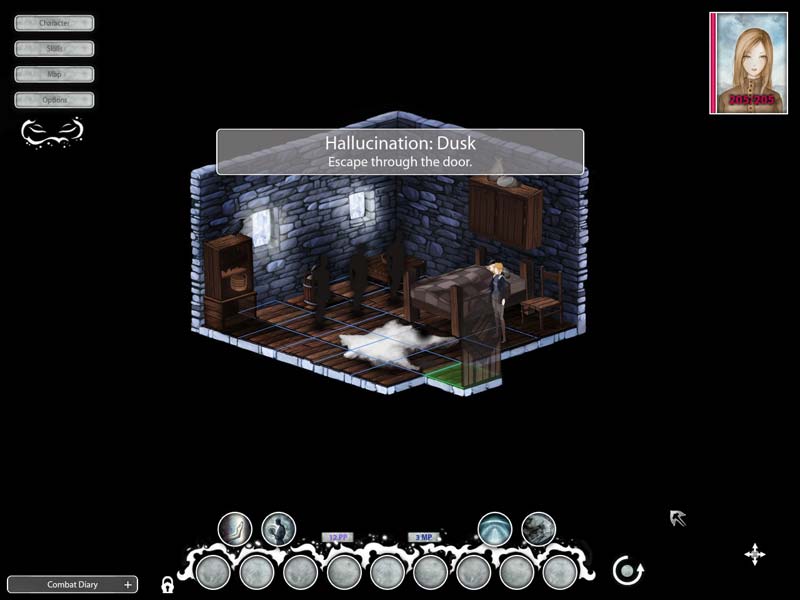
Hallucination: Dusk (+0 EXP)
Push the Terrifying Shadow out of the way and walk through the door, as suggested by the tutorial.
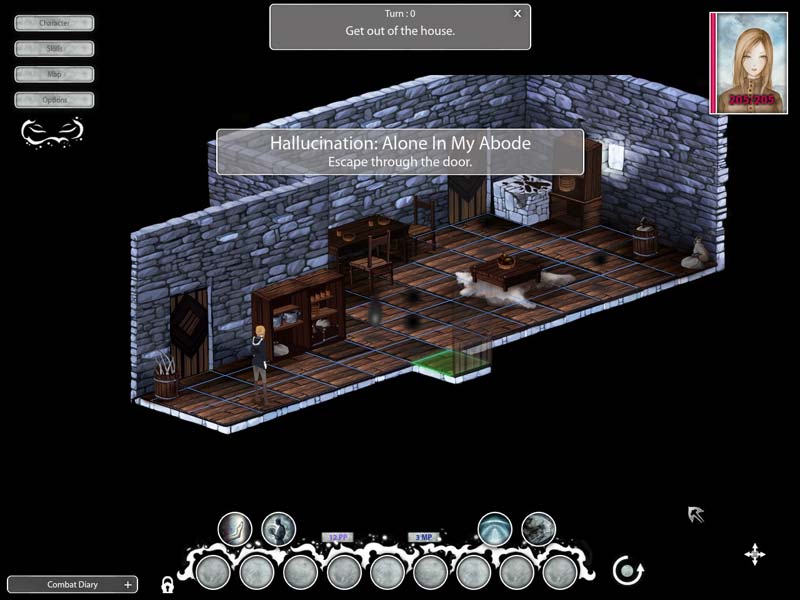
Hallucination: Alone in my Abode (+0 EXP)
Push the Terrifying Shadow out of the way and walk through the door.
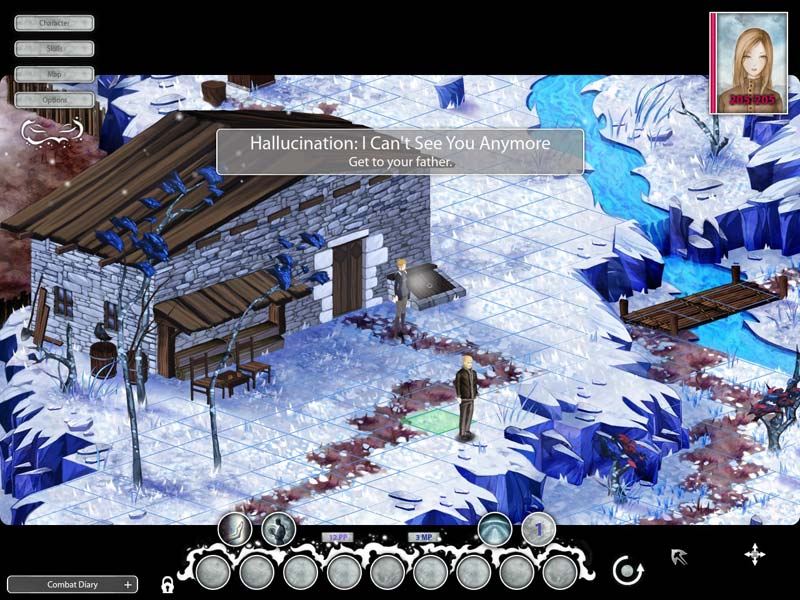
Hallucination: I can't see you anymore (+0 EXP)
Reach your Father. You may want to wait a few rounds before reaching your father to build up movement points for the next portion of the fight and recover energy lost from stepping on the unavoidable trap.
Hallucination: Betrayal (+0 EXP)
After speaking to your father, he will disappear and 3 Insistent Memories will appear. The yellow/orange tile in the lower left corner is the Summer Scent. The exit is in the upper right corner.
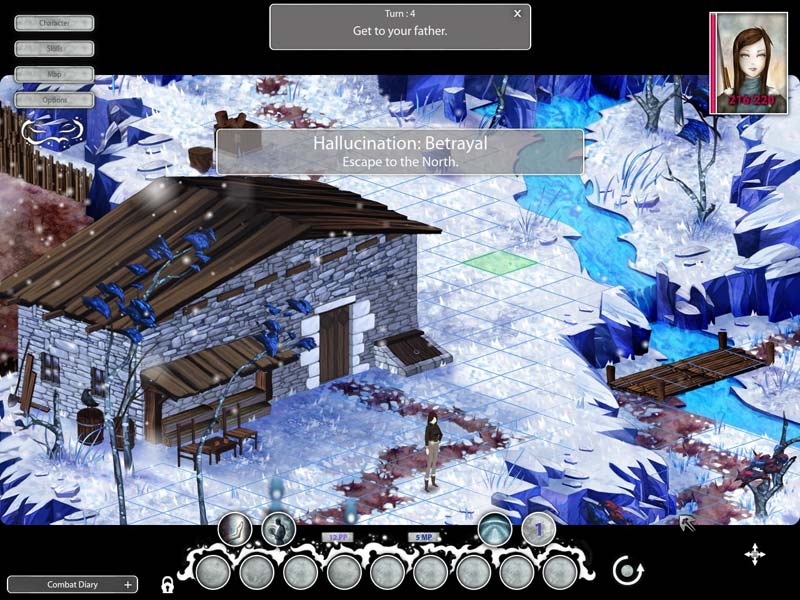
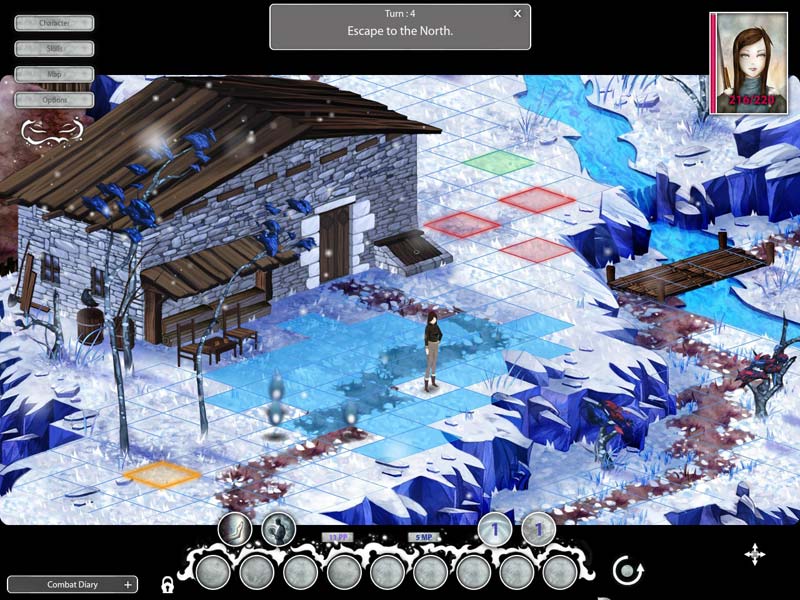
If you've already obtained the achievement for this encounter, stepping on the Summer Scent will cause the encounter to glitch in an unrecoverable way. You will have to restart Winter Voices if you do this.

Summer's Gone, But A Lot Goes On
Achieve a 100% success in the third encounter of the prologue (departure of the father) after walking on the "Summer Scent".

Shadows' Talk
Watch the Funeral Pyre.
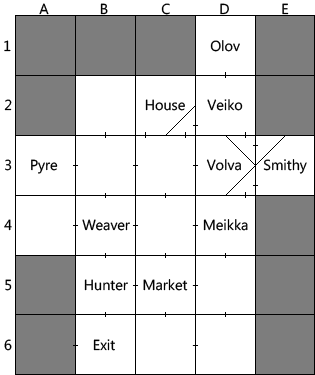
The Nameless Village
Your next objective is to speak to Inkeri the Volva, but there's a lot to see around town. If you are working on a MMV, I highly recommend picking up all of the free EXP from the villagers while avoiding triggering the encounters around the houses of Veiko, Olov, and Meikka. This way you can gain a couple levels to make it easier to get 100% on the encounters.
Speak to the Villagers (+30000-30250 EXP)
How you speak to the villagers determines how much EXP you will receive. Generally speaking, the longer the conversation you have, the more you will get. Some respond well to humor and sarcasm, others will bottle up and cut the conversation short. Some NPCs will have different dialog options depending on your profession.
3500 EXP
|
||||
500 EXP
|
Your House | 4250 EXP
|
||
| Funeral Pyre | 2500 EXP
|
1000 EXP
|
0 EXP
|
Blacksmith/Carpentry Shop |
1000 EXP
|
2000 EXP
|
2000 EXP
|
3500 EXP
|
|
3000 EXP
|
2250 EXP
|
1250 EXP
|
||
0 EXP
|
2500 EXP
|
750 EXP
|
The enemies in the next 4 fights are the same. The Insistent Memories will move toward you and use Harassment (3 hits of minor damage, reduced the farther you are away). The Sudden Memory is stationary but will do significant damage if you stand on an adjacent tile.
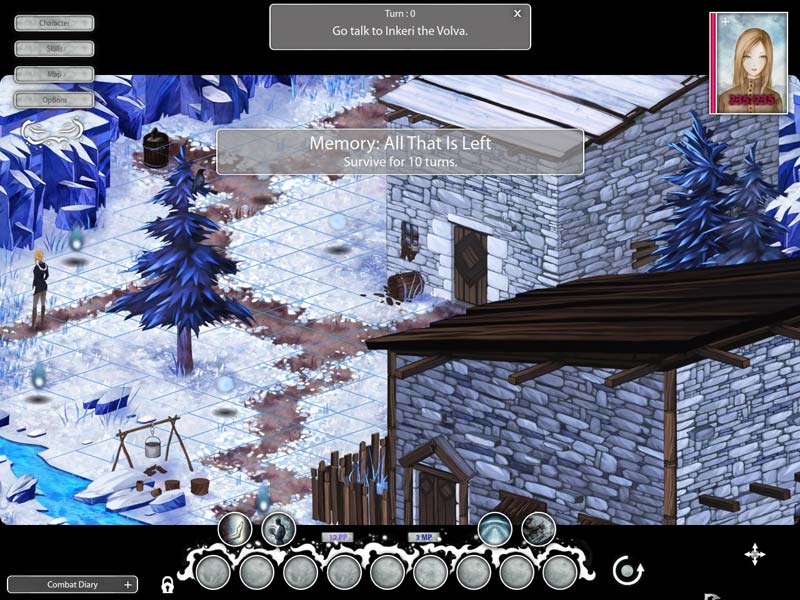
Memory: All that is Left (outside Veiko's house, +3000 EXP)
Survive 10 rounds.
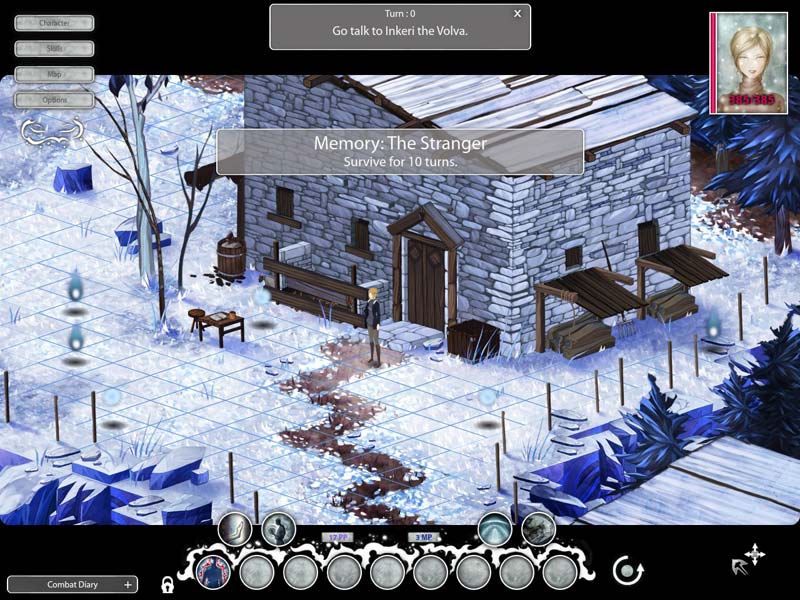
Memory: The Stranger (after speaking to Olov, +3000 EXP)
Survive 10 rounds.
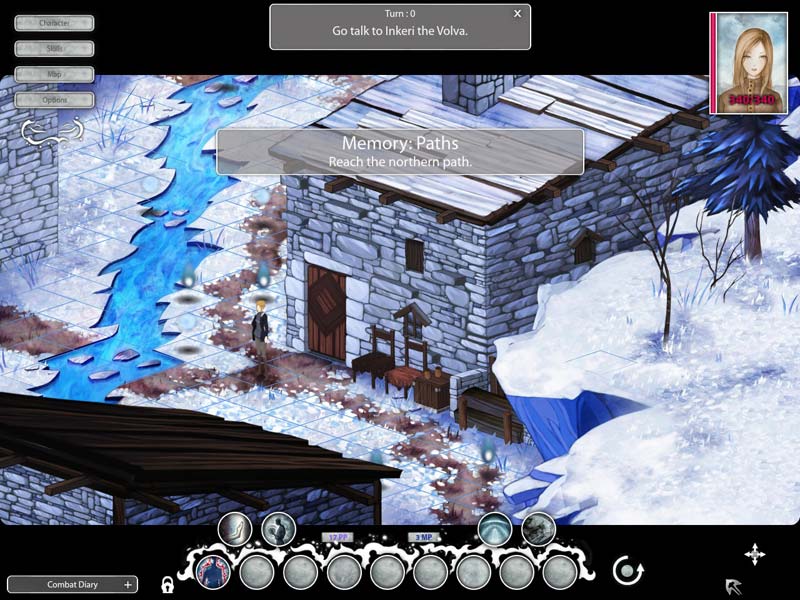
Memory: Paths (after speaking to Meikka and Tilia Einari, +3000 EXP)
Exit is at the top.
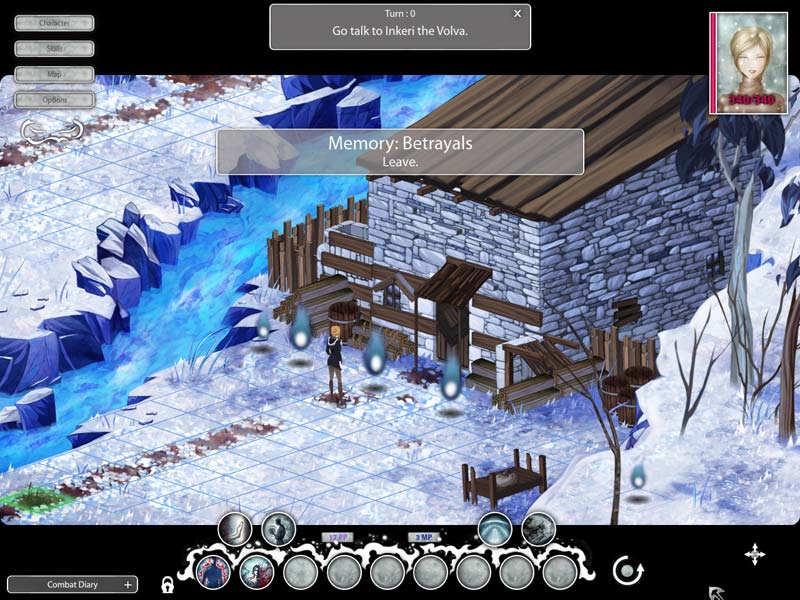
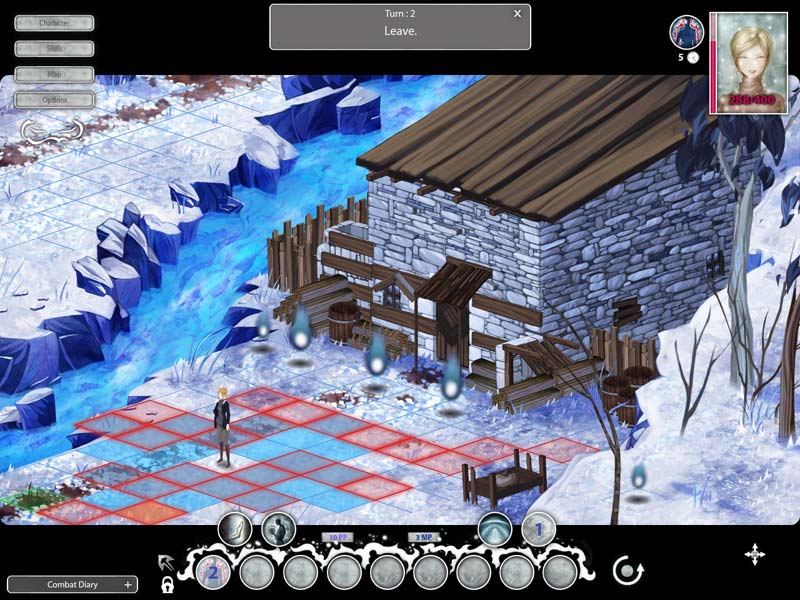
Memory: Betrayals (Outside Carpentry Shop/Blacksmith, +3000 EXP)
There are a lot of traps on this map that you will have to avoid, but the enemies will not pursue you. Exit is in the lower left corner.
Speak to Inkeri the Volva (+14500 EXP)
Once you're done exploring, go speak to Inkeri. She will ask you to speak to these NPCs: Veikko, Meikka, Olov. If you've already explored the village thoroughly, you've already completed these objectives and can immediately speak to her again to progress. If not, go speak to them and return.
When you are ready, speak to Inkeri again and she will offer you some drugs that will induce dreaming. If you are a Volva, you will be forced to take a full dose. A Huntress or Weaver will be given the choice of a half or quarter dose.
- Full
- Forced to take the "hard path"
- Half
- allowed to choose either the "hard path" or skip it and wake up
- Quarter
- forced to skip the "hard path"
There are 2 achievements available for completing the Seid dream sequence: one for taking the hard path, one for skipping it.
The Seid
- Shadow of Doubt uses Harassment
- Terrifying Shadow uses Terror to push you around
- Oppressive Shadow uses Oppression (significant damage, reduces movement points by 1)
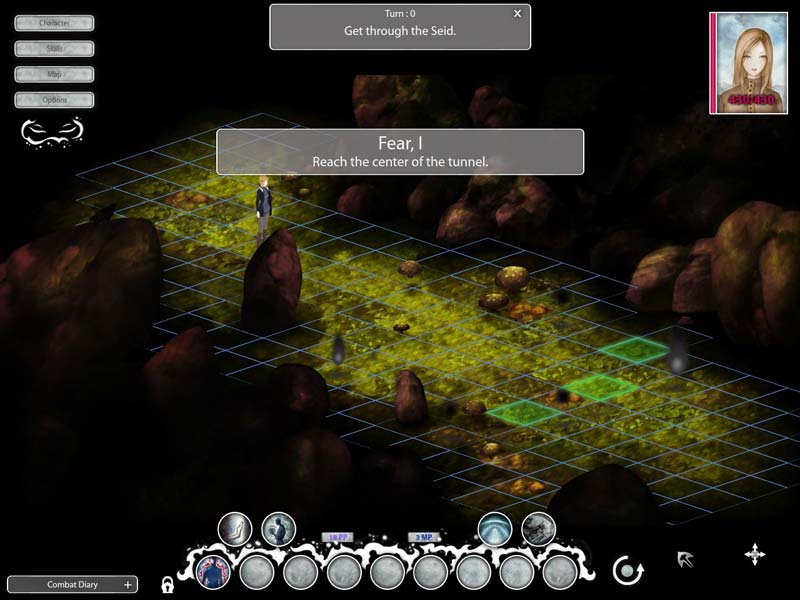
Fear, I (+4000 EXP)
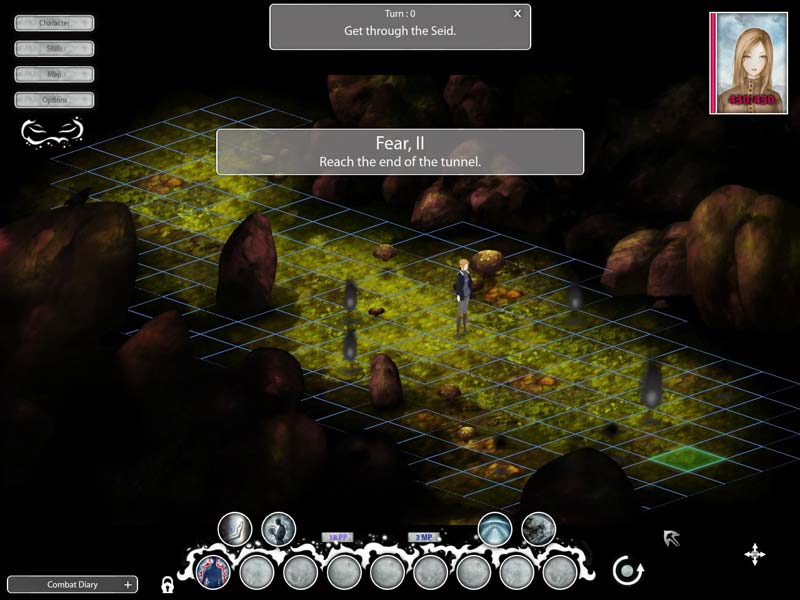
Fear, II (+4000 EXP)
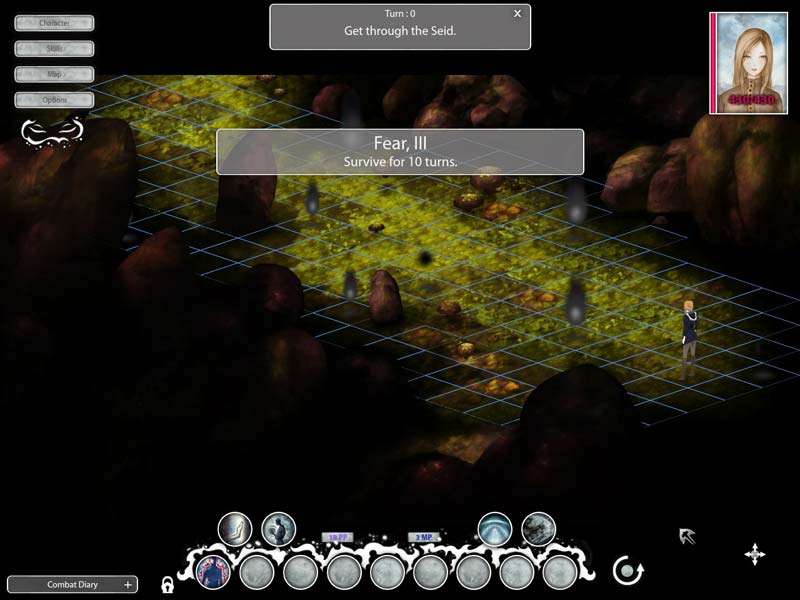
Fear, III (+4000 EXP)
Survive 10 rounds. Oppressive Shadows are your main concern here.
One strategy is to pass a few turns early on to build up MP and let the shadows all come to one area of the map. Then use Escape and run to the opposite side of the map.
The Father (+10000 EXP)
Defend the Father (has 15,000 Energy) for 25 rounds, but if you fail before the 20th round, you have to start over. This is a cross shaped room. Every 5 rounds, 2 new enemies will appear in opposite corners from each other. This is probably the hardest battle in the Prologue.
You may find it easiest to push the Father into one of the corners to minimize the number of attacks he will take per round early on. Using summons to run interference or Repel to keep some of them away are both effective strategies.
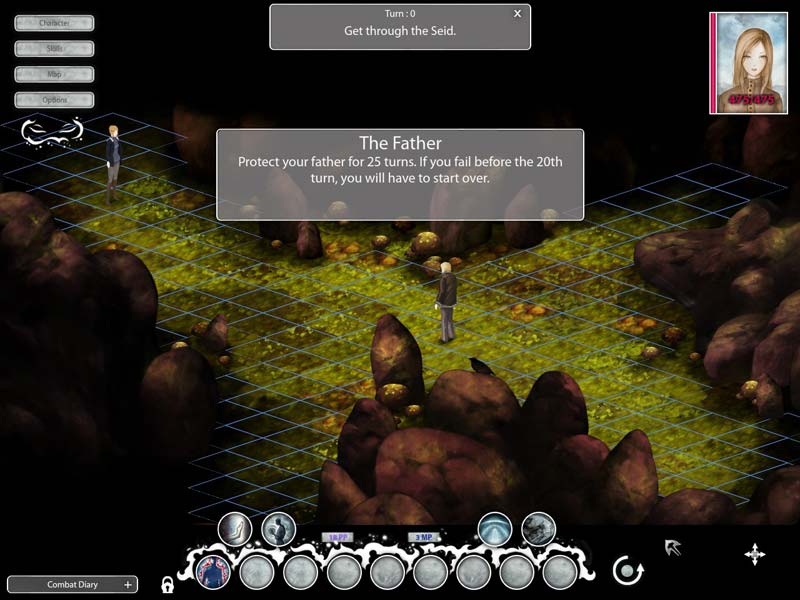
Huntresses receive Avatar of Skuld during this encounter. For 5 rounds, you receive +3 PP and +1 MP each round. One time use.
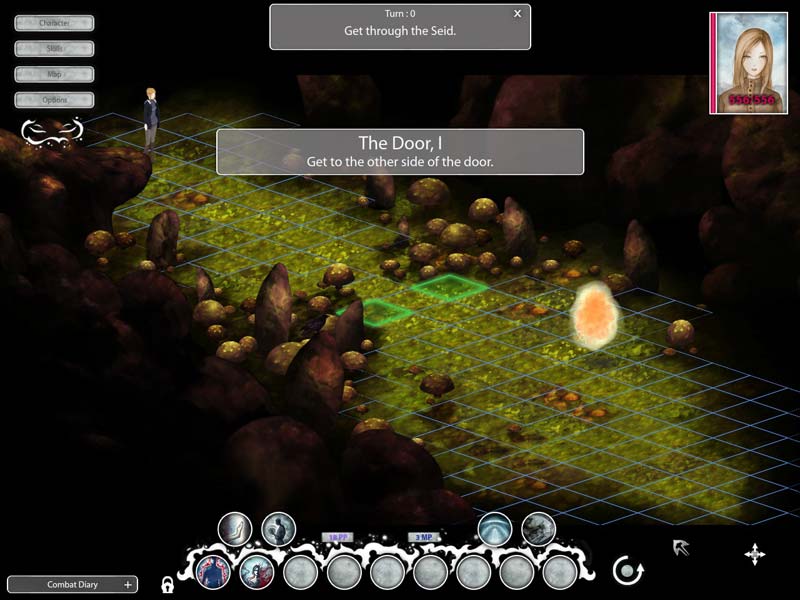
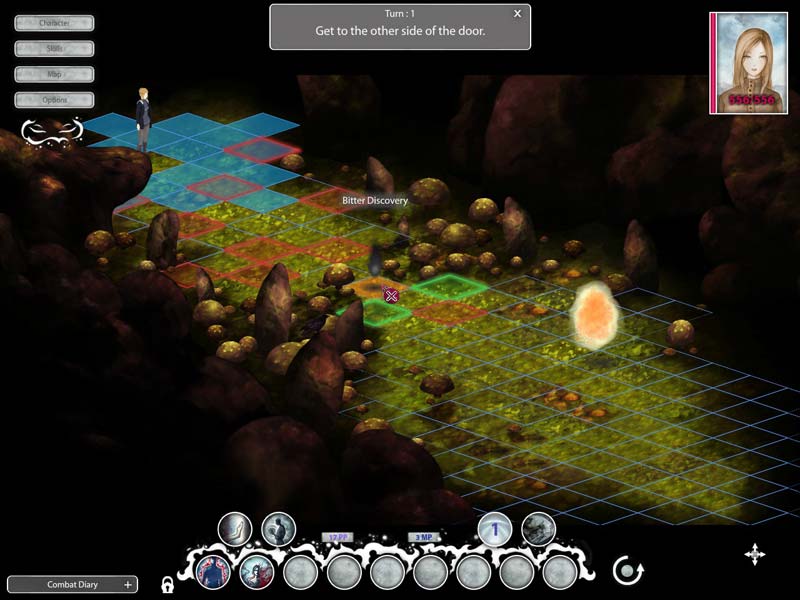
The Door, I (+5000 EXP)
There are traps and a Bitter Discovery here to detect. The Bitter Discovery will do significant damage and reduce your movement points to 0 when you step on it (you can't Repel it). Invisible Torment uses Superior Terror, which pushes you back several tiles, when you get close enough to the designated tile. You'll want to pass a couple turns to build up enough PP to reach the exit in a single turn.
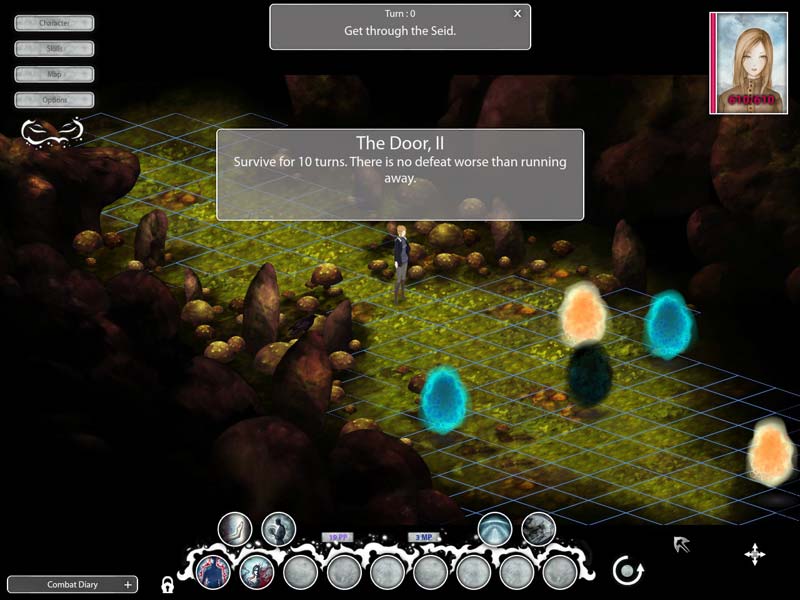
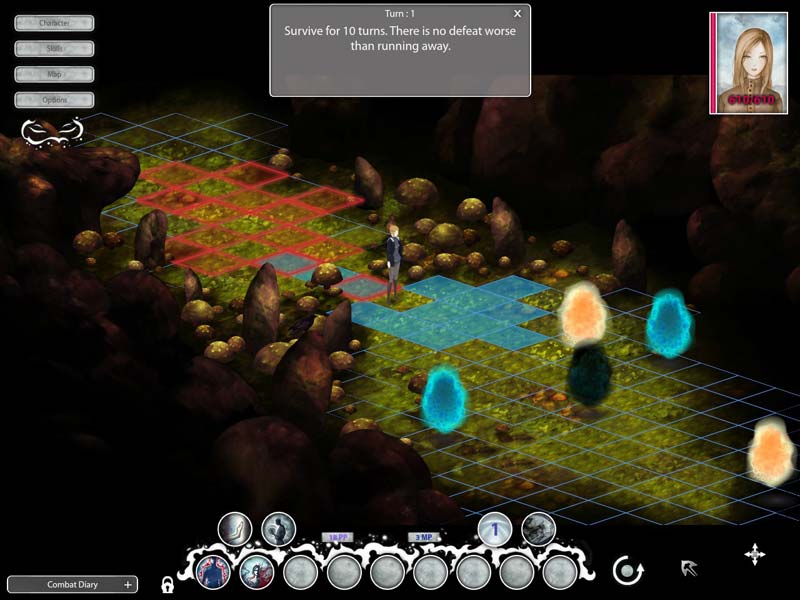
The Door, II (+5000 EXP)
Survive 10 rounds. The closest Invisible Torment will use Superior Terror to make you fly across the map through a bunch of traps. You can either keep pushing them back out of range or take advantage of the free ride.
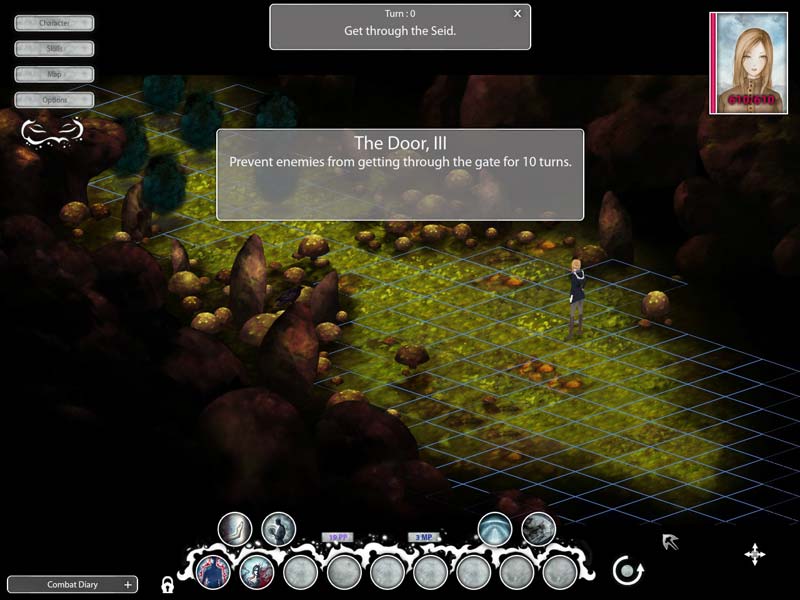
The Door, III (+5000 EXP)
Prevent enemies from going through the gate for 10 rounds. This may be an incorrect description, surviving 10 rounds is all you can really do. The enemies will bunch up around wherever you are: they have no destination tile they are seeking out.
The Man (+12000 EXP)
Survive 20 rounds. The Man will chase you around the Y-shaped area that's full of traps that are laid out like a maze. You begin at the upper left corner, the Man is in the center, and a spirit is at the end of each of the other paths. Next to the spirit is an outlined tile that will teleport you back to the starting point. The Man can do significant damage to you with Oppression and reduce your Movement Points, but only from within 2 tiles. He also uses Inexorable, which makes him resist Repel.
After 20 rounds have passed, one of the spirits will disappear (taking the teleporting tiles along with it) and the other will move to the center. Every other round, the spirit will use Assassination (deals 20,000 damage to the Man). After she does this 5 times, the encounter will end.
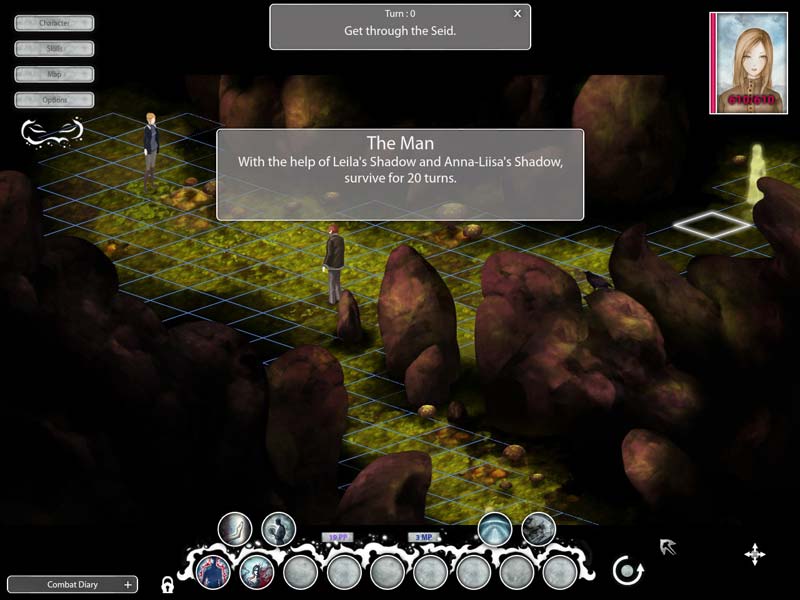
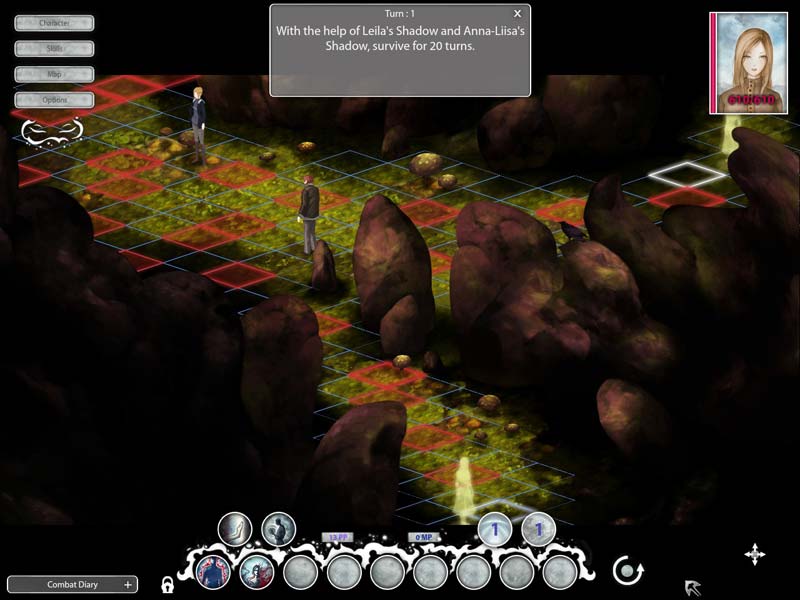
Weavers will receive Avatar of Verdandi during this encounter. For 5 rounds, you receive +200 Intuition. One time use.

I Fought Against The Bottle
Leave the Seid without taking the Difficult Path.
The Seid: The Hard Road
If you took the full or half dose of the drug, the hard road is open to you.
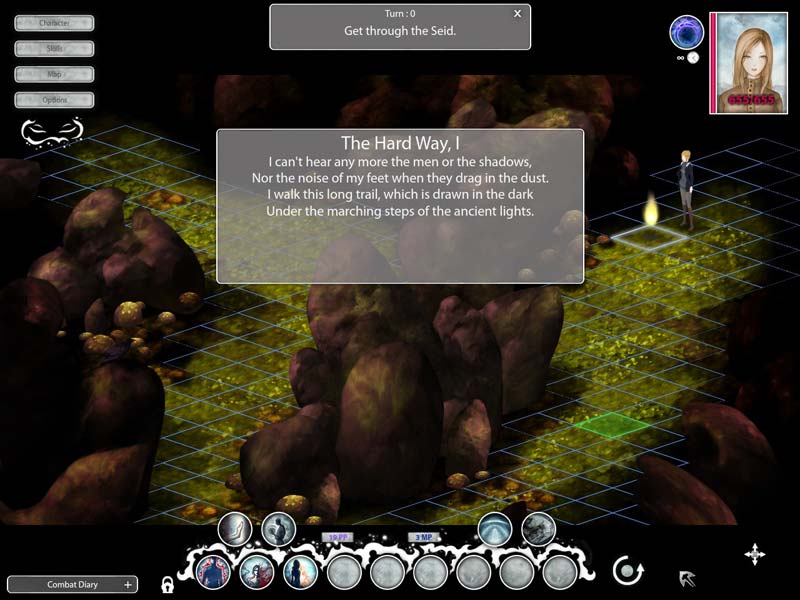
The Hard Way, I (+5000 EXP)
If you stay within 1 tile of a Luminary, you will gain the effect of Gleam. If you do not have Gleam on you at the end of your turn, you will take damage and lose movement points. Be patient and follow the Luminary around until you're able to get to the exit.
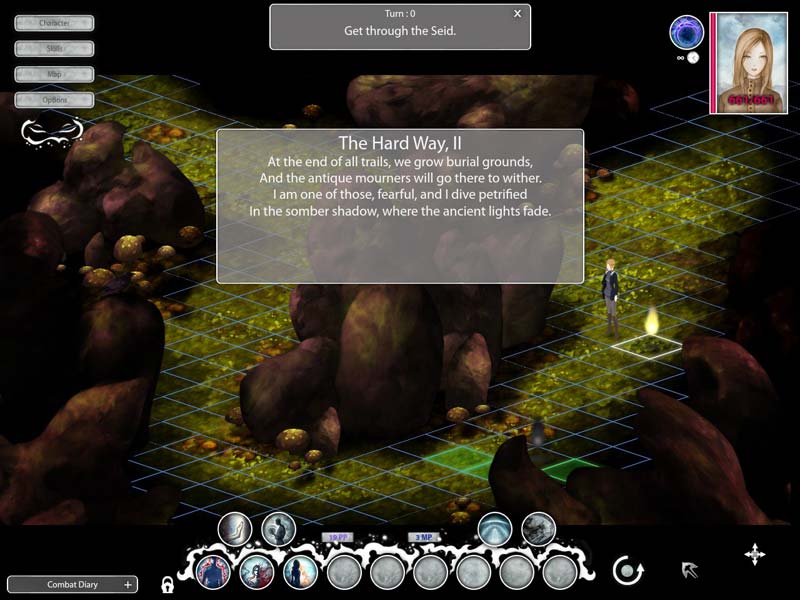
The Hard Way, II (+5000 EXP)
Same as the previous encounter.
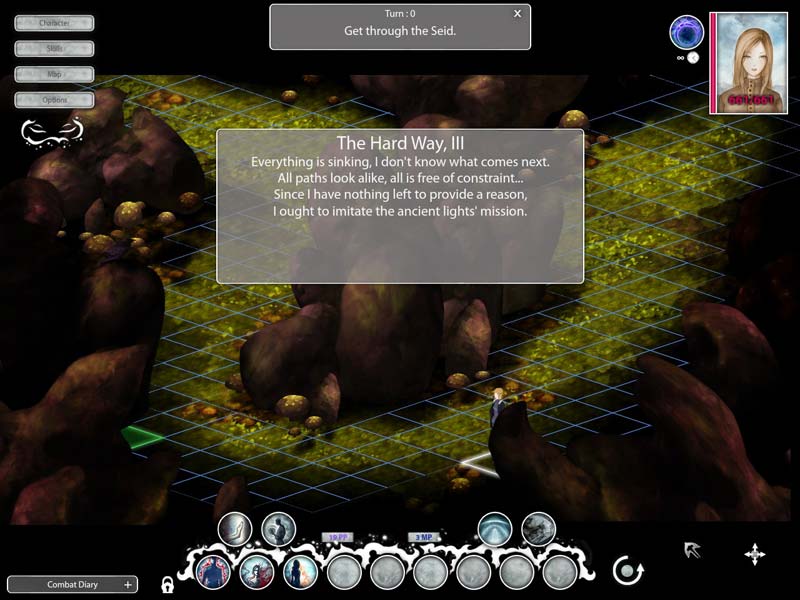
The Hard Way, III (+5000 EXP)
Pay attention to the path the Luminary takes, you will need to follow it to avoid taking damage.
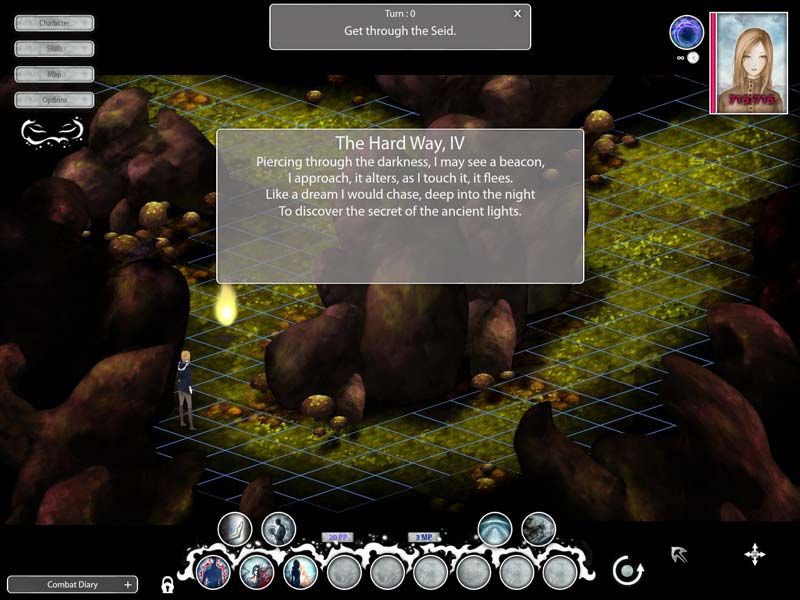
The Hard Way, IV (+6000 EXP)
This can be a tricky battle for MMVs, depending on skill selection and attribute distribution. The Darkness puts a significant dent in your Energy and reduces your Movement Points every round. You will need to end your turn adjacent to a Luminary. They will restore your Energy and disappear when you reach them, and a new one appears elsewhere. The second appears to the lower right, and the third appears to the upper left (above where the first one was).
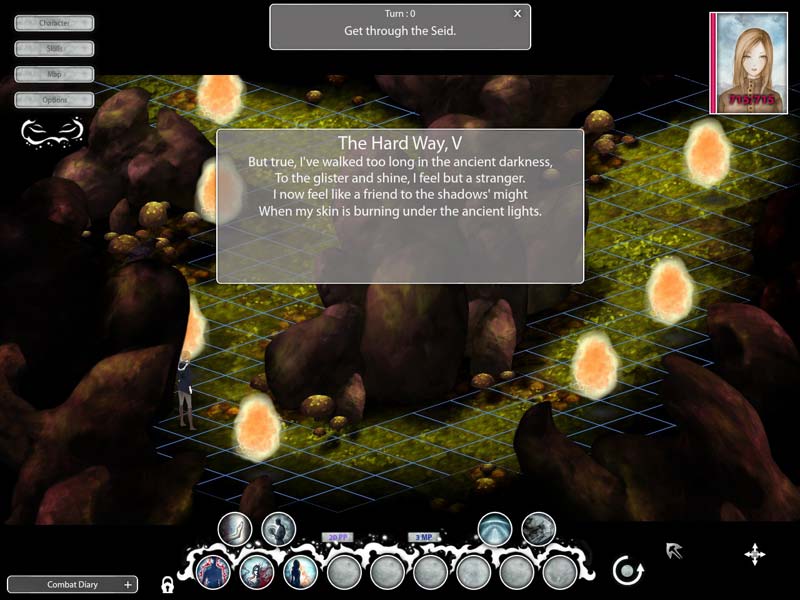
The Hard Way, V (+6000 EXP)
Survive 10 rounds. The Ancient Lights will either use Truth (significant damage) or Throbbing (very minor damage). They don't move very far, and if you're far enough away, they won't even bother approaching.
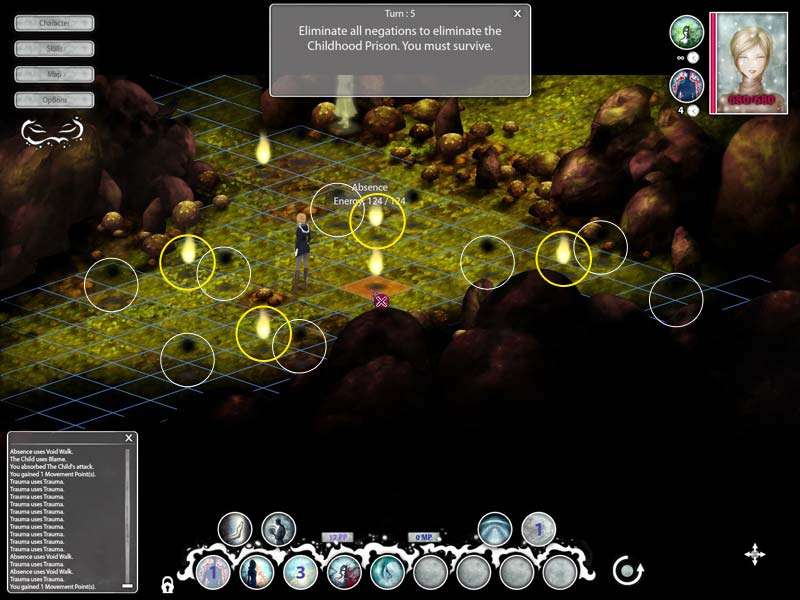
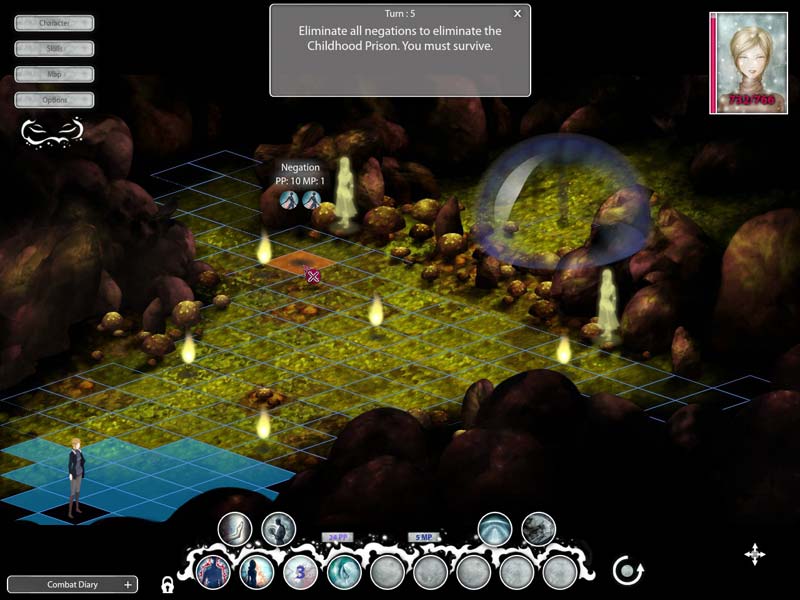
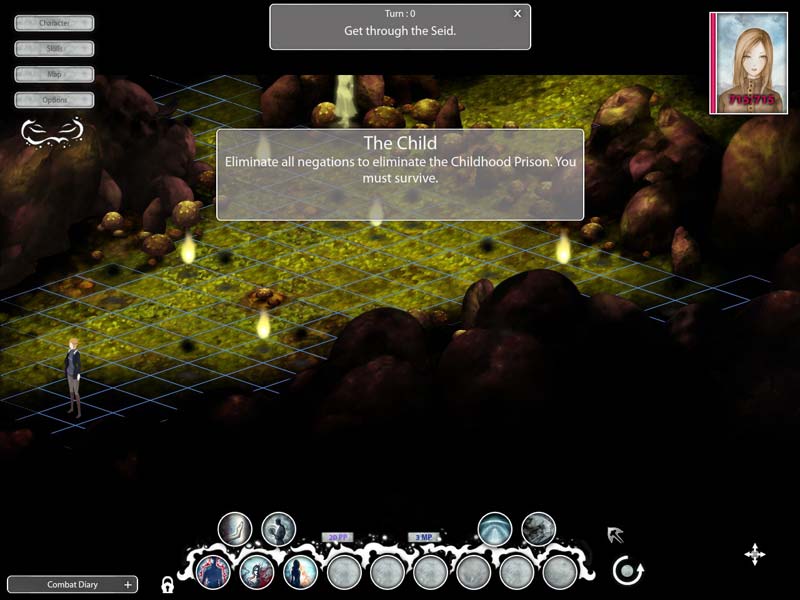
The Child (+15000 for 100%, +15750 EXP for 105%)
Negations take damage at the start of the enemy's round, but Traumas will restore them with their attacks. There's a few ways to go about this. The obvious solution is to push them around or stand between them so that the Negations don't get restored. It takes 3 rounds of not being healed for Negations to vanish. Expect to spend 20-30 rounds with just Repel and bodyblocking.
A well placed Absence or two can shutdown almost all of the Traumas and clear the first half of this encounter in 12 rounds or less. The Absence pictured here can hit all of the Traumas (circled in yellow) with Void Walk's default range (5 tiles?) except for the upper-left corner, which will clear all but 3 Negations (circled in white).
Betrayal works on this map, provided the Traumas are far enough away from you. You can clear all of the Negations except for the one closest to Anna-Liisa's Shadow (upper left) with Betrayal's default duration of 2 rounds. For whatever reason, this Negation's turn is after the Traumas turns. If you have the duration upgrade for Betrayal, then you can clear all of the Trauma's within 3 rounds.
After all of the Negations are gone, the Traumas will merge and form The Child. You can't push it around with Repel or move out of range, but you can use Anticipation. It will use Blame (damage equal to your max life, modified by resistances/mitigation?) every round. You need to survive 6 rounds for 100% or 7 rounds to get 105%. Betrayal will give you 2-3 rounds free of damage, depending on upgrades. You will be restored to full health up to 3 times if you pass out.
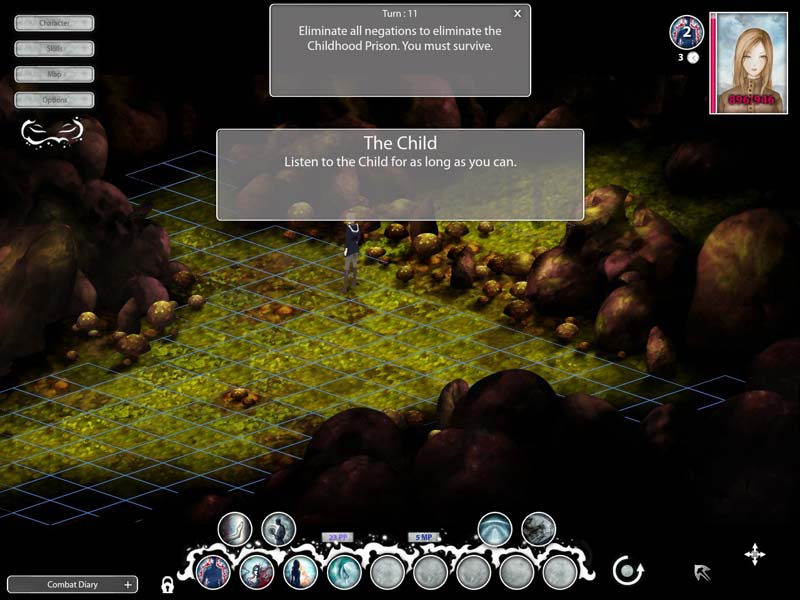
Volvas gain Avatar of Urd during this encounter. For 5 rounds, your resistance to attacks is greatly increased (went from -73% to 19% Mitigation or -93% to 0%). This skill can only be used once, so save it for the second half of the encounter!

Ghost In The Cell
Leave the Seid after completing the Difficult Path.
Time to Say Goodbye
When you wake up, you make up your mind to leave town. But first, you have to speak to your mentor and then go to your house.
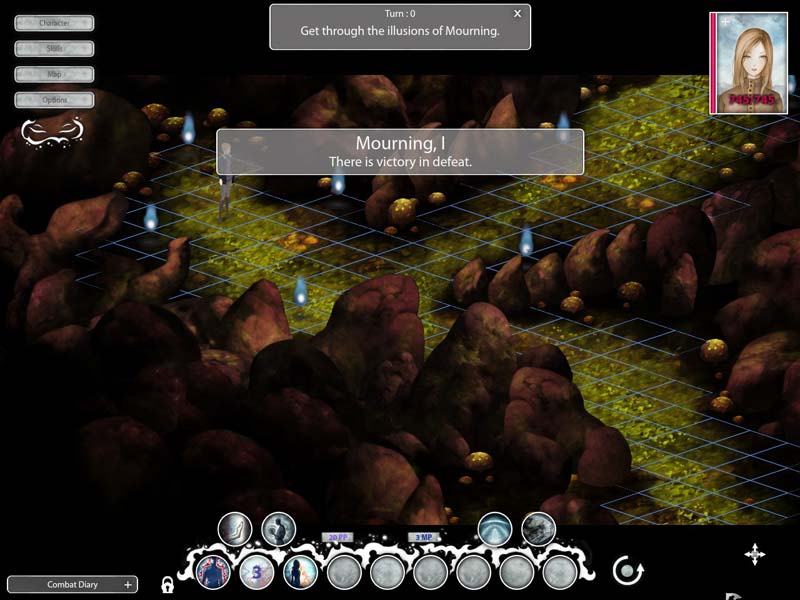
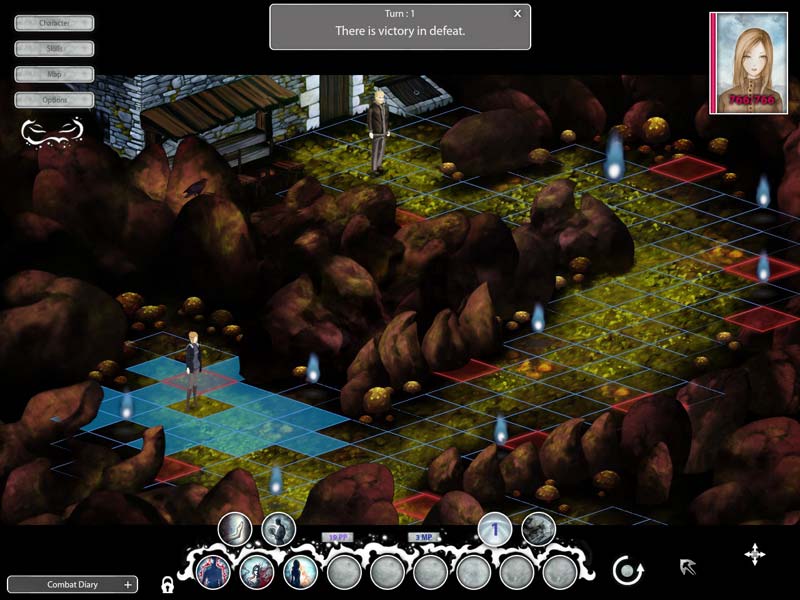
Mourning, I (+6000 EXP for being defeated or +2000 EXP for pushing for the achievement)
There is victory in defeat. Simply dying will win this fight (100% complete), either step on traps or allow yourself to be pummeled to death by the Insistent Memories. If you make it all the way to your father, you will be forced to go through the fight again (you will receive a warning after the 2nd round that this will likely happen again if you keep doing it). If you continue pushing through to your father, you will eventually get the achievement.

That Time Cannot Decay
Leave the never-ending house without surrendering (!) until the end.
Mourning, II (+6000 EXP)
Repel upgrades are disabled.
At the very end of the zig-zagging path, there are 2 Relentless Torments next to each other, blocking the path to the exit. The top one can only be pushed out of the way from the left (across the ravine) and not the top.

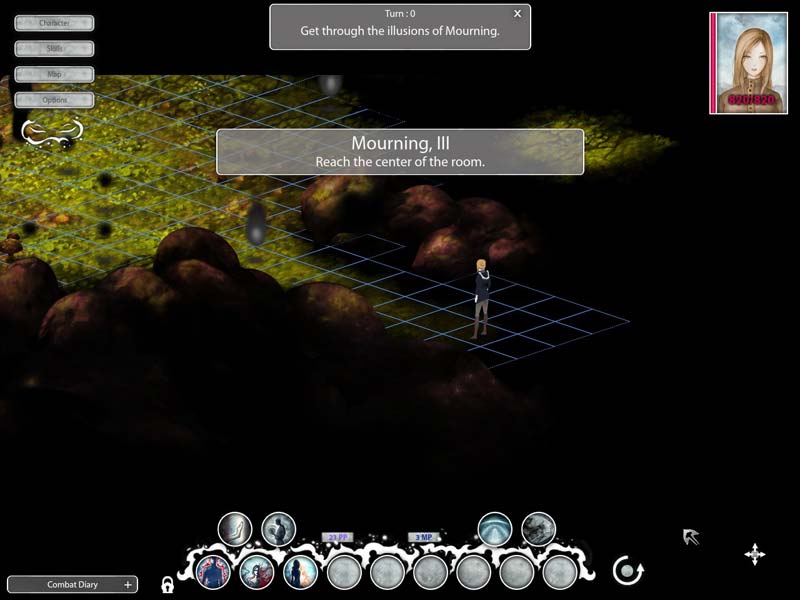
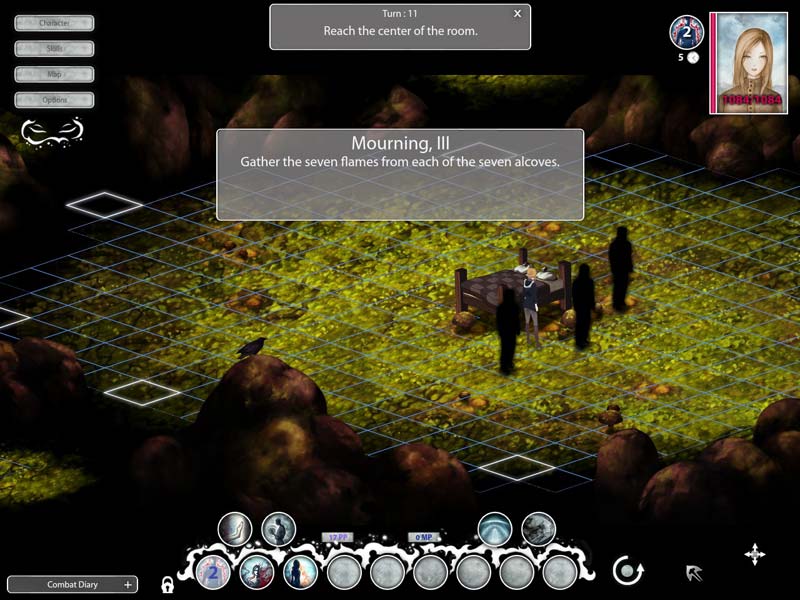
Mourning, III (+18000 EXP)
There's a lot of traps in the center of the map. Oppressive Shadows are your only real concern here. Their Oppression does a fair bit of damage and reduces your movement points by 1, but they have to be within 2 tiles to use it. The other enemy will push you around, so make sure you have enough movement points to actually land on the designated tile.
Traveling around the room counterclockwise is the best way to get to the center. Just push away anything that gets too close and use Escape every round to outdistance them.
When you reach the designated tile, all of the enemies disappear and 3 Dusk Shadows appear. Step on each of the 7 highlighted tiles. The Dusk Shadows wake up one at a time after the 1st, 3rd, and 6th tiles and start chasing you. The first one will push you around, the third will use Harassment, no idea on the second one. Each of the designated tiles add a few new traps to the field, but you almost have to be trying to step on them. This part of the encounter is near impossible to lose, even if the only skill you use is Escape.


Comme Avant, Allumer Le Soleil
Win the last encounter of the Prologue without losing more than 10% of your life.

Perce-Neige
Achieve a 100% success in every encounter of the prologue.

I Stepped Into An Avalanche
Achieve a 100% success in every encounter of the prologue while playing a Volva with a maximum memory.
Leave Town
As you leave town (southwest part of the village), a crow will land on your shoulder.

Inner Crow
Hire the Crow.

Avalanche
Complete the Prologue.
The EXP cap for the Prologue is 195000. You can easily obtain this if you achieved 100% in all encounters, took the hard road, and picked up all of the EXP by talking to the villagers. There are 22 encounters according to save files, but only 20 are counted as perfect battles. Hallucination: Dusk and Hallucination: Alone in my Abode do not count towards perfect battles. Hallucination: I can't see you anymore & Hallucination: Betrayal, and Mourning, I are not counted at all.