Drawing as a Free to Play (F2P) Player
Whether you spend or rely completely on free draws, it's essential to pick and choose the banners you draw on carefully. This means skipping costumes that aren't going to help you reach your goals. This also means being willing to commit enough resources to make that costume worth using. If you keep drawing for single copies of costumes, you might not have enough resources to fully invest in the ones that will help you meet your content goals.
If you're patient and willing to save draws for high value banners, you can do quite well without spending any money. If you're lucky and start at a time when there's good costumes on banner to jump start your account with, you can progress quite rapidly. The faster you can develop your account with high-value costumes, the more free draws you can obtain.
Want to know what I've drawn on? Check my costume draw and purchase history.
- TLDR
- Monthly F2P Income
- How Pity Works
- Pickup Banners
- Selective or Regular Costume Draw Banners
- Exclusive Gear
- Property Selective Draw
- Powder of Hope
- Selective Costume Enhancement
- My Draw Strategy
TLDR
- Focus on obtaining costumes that will help you earn more F2P draws
- Avoid spending your red tickets and Free Dia on anything other than pickup banners
- Spend your purple selective draw tickets freely on the 12Pick, avoid the 1Pick if it's available
- Unless you need the costume upgrades for completing time sensitive content, wait until last day of the banner to +4 or +5 it
- Avoid spending draws on exclusive gear banners
- Expect to spend around 250-300 draws to +5 a costume while it is on banner
Monthly F2P Income
There are quite a few sources of deferrable draws that can be saved for spending on the banner of your choice. If you're able to consistently clear level 10 Fiend Hunt and finish Mirror Wars in rank Dia I every season, you should be able to accumulate around 300 draws per month. There are a few sources of purple tickets that can only be spent on the selective draw banners, but those are not included here.
The draws that require active participation to obtain are highlighted in green.
- Fiend Hunt is the largest source of content-based draws. It requires the most investment to get all of the potential rewards.
- Tower of Salvation has moderate requirements for the modest amount of draws you get, but you also get a guaranteed 5* ticket (property selector).
- Mirror Wars requires the least investment to reach Dia rank, having UR4 crafted gear on your characters is enough to beat the vast majority of your competition.
| Source | Amount | Times | Total |
|---|---|---|---|
| New Banner Pickup | 1 | 4 | 4 |
| Login event | 1 | 2 | 2 |
| Season Pass | 16 | 1 | 16 |
| SPECIAL Season Pass | 16 | 1 | 16 |
| Season login event | 10 | 2 | 20 |
| Season minigame (eg. bingo, dice game) | 10 | 2 | 20 |
| Season event shop | 15 | 2 | 30 |
| Fiend Hunt (3 per level, max 30) | 30 | 2 | 60 |
| Fiend Hunt (event boost) | 2 | 2 | 4 |
| Fiend Hunt (out of rank) | 3 | 2 | 6 |
| Tower of Salvation (levels 3 & 5) | 10 | 1 | 10 |
| Tower of Salvation (season rewards) | 10 | 1 | 10 |
| Thread Shop | 10 | 1 | 10 |
| Guild Shop | 10 | 1 | 10 |
| Golden Colosseum Shop | 10 | 1 | 10 |
| Monthly coupon (eg. 2026BD2JAN) | 2 | 1 | 2 |
| Total | 230 | ||
| Source | Amount | Times | Total |
|---|---|---|---|
| Daily Mission | 60 | 30 | 1800 |
| Weekly mission | 200 | 4 | 800 |
| Dev note/letter (1 minimum) | 600 | 1 | 600 |
| Maintenance (200 per hour) | 600 | 2 | 1200 |
| Season pass (costs 1000 dia, returns 600 dia) | -400 | 1 | -400 |
| Season event (read story) | 500 | 2 | 1000 |
| Season event normal battle | 750 | 2 | 1500 |
| Season event (boosting mission) | 600 | 2 | 1200 |
| Mirror Wars (Dia I settlement) | 800 | 4 | 3200 |
| Mirror Wars (Dia rankup) | 250 | 4 | 1000 |
| Total | 11900 | ||
| Total as Draws | 59.5 | ||
Anniversaries and half-anniversaries hand out even greater rewards. The season pass has more draws in it. In the past, we've also seen multiple daily login events handing out 35 tickets over a two-week period.
How Pity Works
- The odds of getting a 5* costume or a 5* UR exclusive is 3%
- You are guaranteed a 4* costume or any SR exclusive every 10 draws
- You are guaranteed a 5* costume or 5* UR exclusive every 100 draws
- There is no 50/50 protection in place on featured banners, it's possible go 600+ draws and not get the featured item without using the exchange
Each draw you make generates a draw point on that banner. This can be used as a currency that will let you purchase one copy of a costume once you have 200 of them, regardless of what you get from your draws. For pickup banners, this can be done using the exchange to obtain the featured item (costume or exclusive). If the banner has a time limit on it, unspent draw points automatically convert to Powder of Hope and get sent to your mailbox when the banner ends. Permanent banners need to convert the draw points to Powder of Hope manually. Exclusives do not appear in the shop, only costumes.
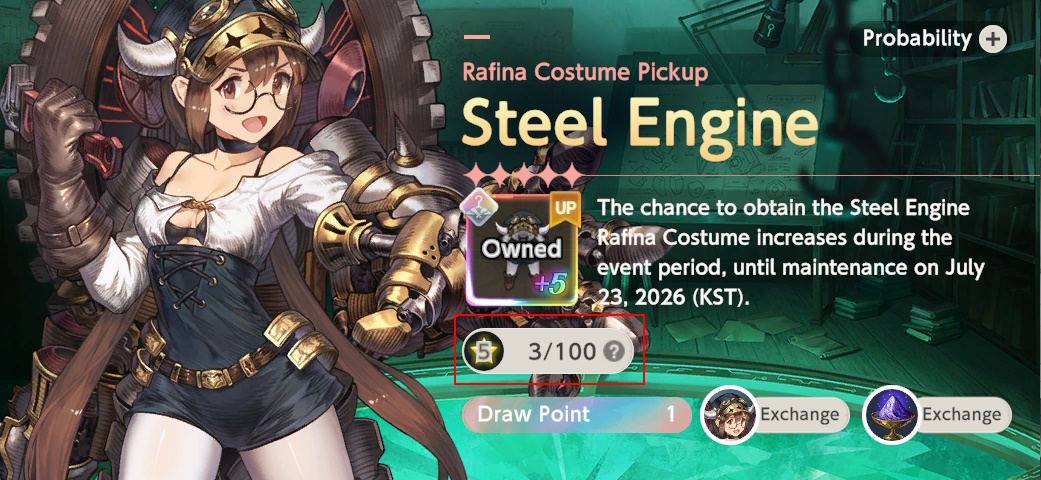
The exception to this are banners that require a special draw token that guarantees a specific type of reward. There is no pity counter to worry about resetting, you just get the item.
Pickup Banners
This should be your first choice for spending draws, assuming there is a useful costume on banner. Exclusive banners should be avoided unless you're a veteran (see: exclusives section).
Banners that have a rate-up for a single featured item are called pickup banners, where the 3% rate for 5* costumes or 5* UR exclusives is divided: 1.5% for the featured item and 1.5% for any other 5* costume or 5* UR in the standard pool.
There will always be at least 2 costume banners running at all times, typically one for a new costume and one for an old one. New costumes almost always begin at the start of a new update, with the old costume banners offset by 1 week. There will also be a corresponding exclusive banner for each character who has an active costume banner. If there happens to be 2 active costume banners for the same character, there will only be 1 exclusive banner for that character. Pickup banners typically last 14 days, but special ones can last as few as 7 or as many as 30. Special events like anniversaries or collaborations will have additional banners available.
You get one free draw every day on each costume and exclusive gear pickup banner. Unless you're a competitive player and need the item for ranking purposes, the most common strategy is to only draw on costumes up to +2 or +3 early on and wait until the last day to finishing maxing it out. If you get a copy of a costume you already have maxed out, you get Golden Threads instead. They're a lot less valuable than a copy for a non-maxed costume, so it's best to leave room to get some upgrades from free draws.
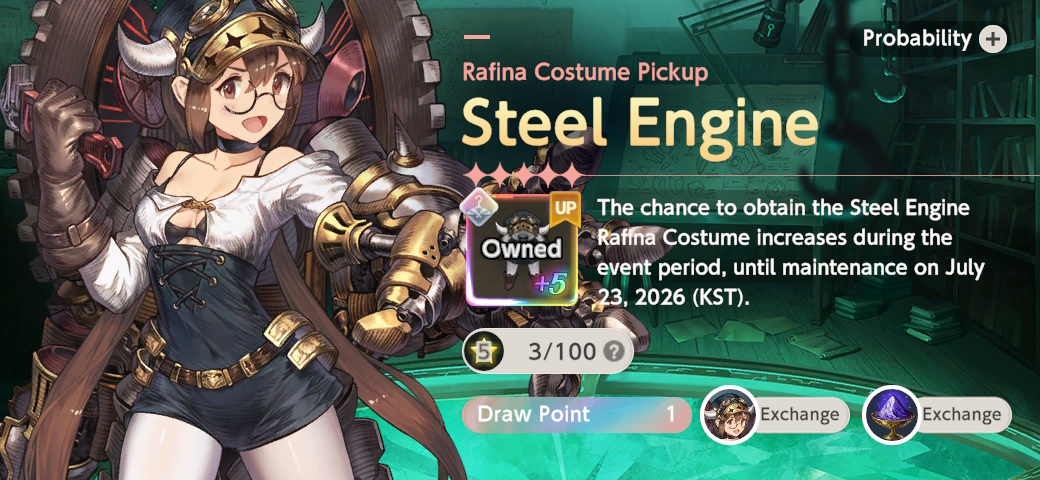
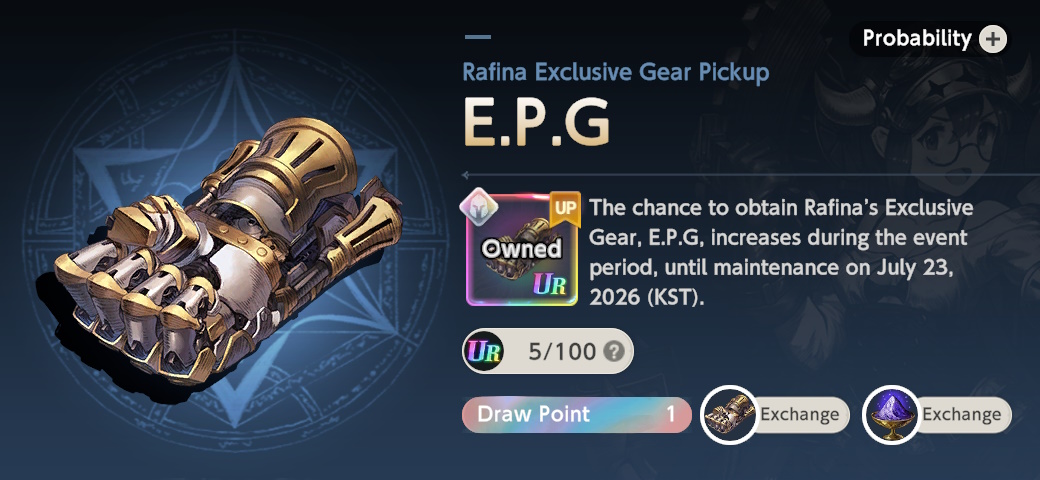
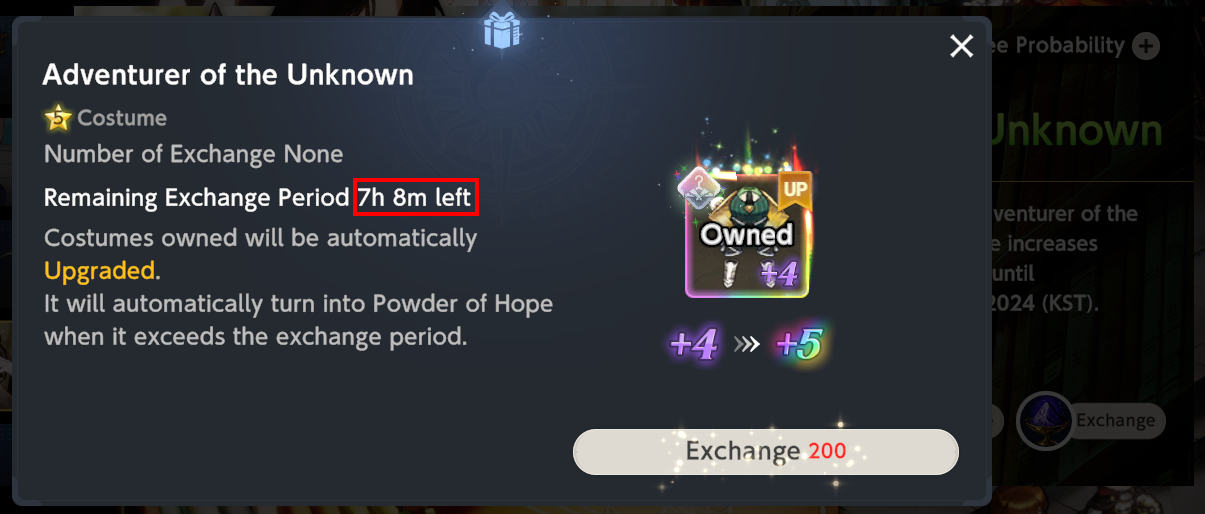
Once you accumulate 200 draw points on any pickup banner (costume or exclusive), you can exchange them for one copy of the featured item. When the banner ends, non-limited costumes will enter the standard pool in the next update (for most new costumes, this happens the very next day) and you can find one copy for sale in the Powder of Hope shop. Unspent draw points turn into Powder of Hope automatically when the banner ends.
Pickup Missions
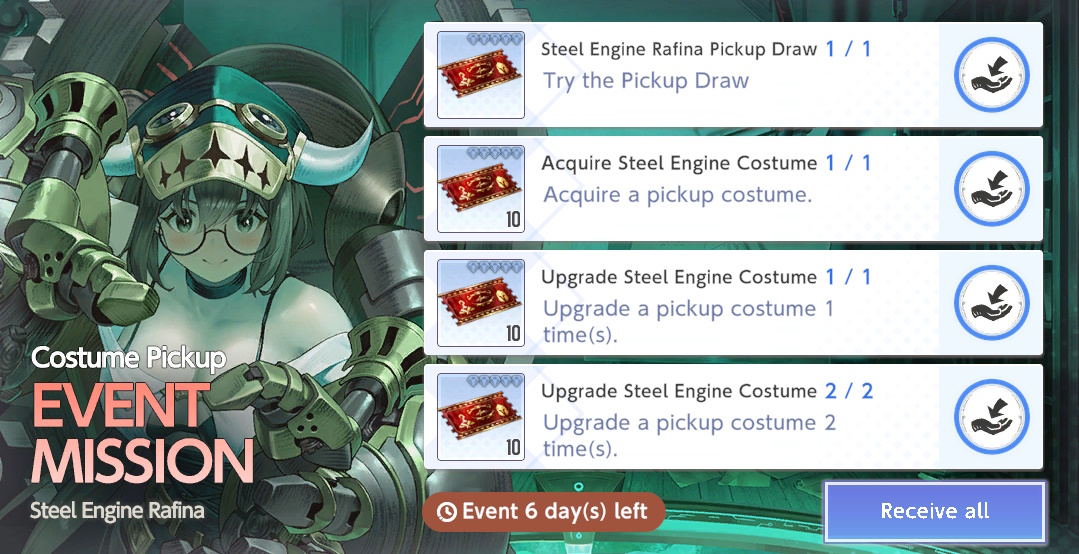
Every costume pickup banner has a corresponding pickup mission that gives you 10 tickets every time you get a copy of the costume, up to 50 tickets. For a +5 costume, you get Ancient Crystals instead, so most people will just go to +4 while the banner is active and get the last copy in the powder shop (note: limited costumes do not enter the powder shop, they must be obtained from the banner or it's exchange). Costumes you got before the banner started are eligible for these refund events, too! The ticket rewards are one-time only: you can only claim previously unclaimed rewards when there is a rerun.
Limiteds and Collaborations
Limited characters can only be obtained while their banner is active. They will not enter the standard pool and will not appear in the powder shop. You cannot use the selective upgrade on them.
Limiteds for BD2 original characters always have reruns every year around the anniversary of their release, which only happens at the Anniversary (June) and Half-Anniversary (December). Only 1 new limited is added during these events.
Collaborations tend to happen around April/May and September/October. They have had reruns in the past. There is no way to predict if or when this will happen. Mushoku Tensei reran with no changes to the event, while Senran Kagura added one new character. There were no balance adjustments made for the costumes during their event period, leaving most of them underpowered compared to BD2 originals.
Average Draws to +5 a Costume
You should expect to spend an average of ~33 draws to get one copy of any +5 costume or 5* UR EX. For the featured item, it's ~66 draws. Keep in mind that these are statistical averages. Sometimes you will get more or less than the average, but everything usually evens out over time.
| Goal | Draws | Refund | Real Cost |
|---|---|---|---|
| 1 copy | 66 | 10 | 56 |
| +3 with the exchange (best) | 200 | 40 | 160 |
| +4 with the exchange (best) | 266 | 50 | 216 |
| +5 with the exchange | 333 | 50 | 283 |
| +5 without the exchange | 400 | 50 | 350 |
Example: If it's the last day of the costume pickup banner and you've accumulated exactly 200 draw points, a statistically average result will have 3 copies of the featured costume from draws plus an extra copy from the exchange. This would have cost 186 draws from your stash (200 - 14 free daily draws) and you gain 40 tickets from the pickup mission. That's a final cost of 146 tickets. This is is why the pickup banners are the best return on investment.
Selective Draw
This should be your second choice for spending draws, ideally only if you have any selective draw tickets.
The selective draw banners let you narrow down the standard pool to make it easier to get the things you really want. The original selective draw banner let you pick 6 costumes, but you only had a 1.5% of getting any of your picks. It was reworked into the 12Pick during the 2nd Anniversary. The 12Pick is the best choice among the selective draw banners for a young account.
| Name | Contents | Availability | Rules |
|---|---|---|---|
| 12Pick | Costumes | Permanent | 3% chance to get any of your picks, no off-rates unless you hit 100 point pity |
| 12Pick | Exclusives | Special events | 3% chance to get any of your picks, no off-rates unless you hit 100 point pity |
| 1Pick | Costumes | Special events | 1.5% chance to get your pick, 1.5% any other 5*; Limit of 10 selection changes |
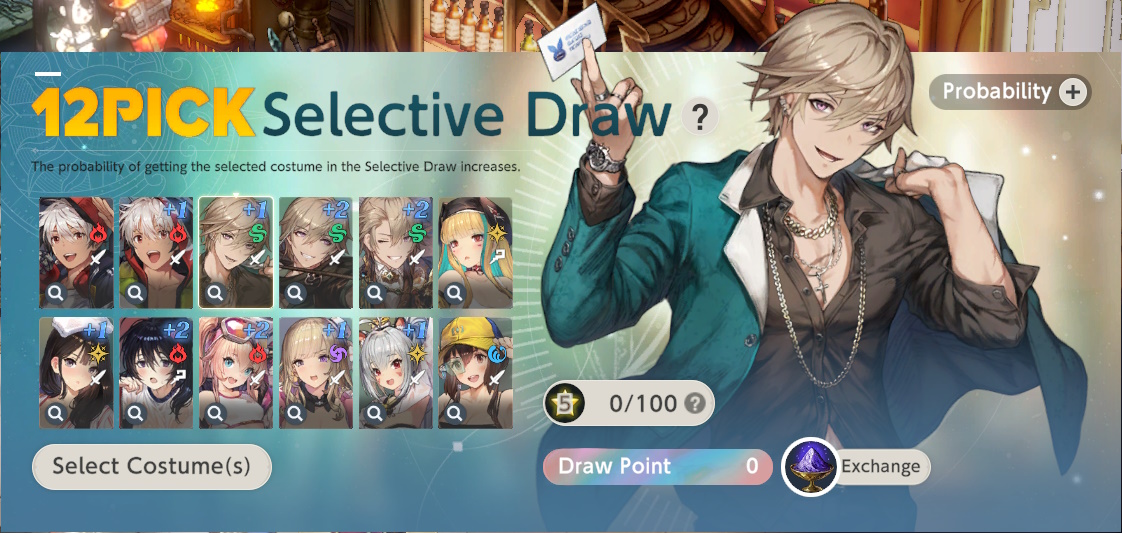
As long as you have at least 12 costumes you need, there are several reasons to draw on the 12Pick.
- Unless you hit the 100 point pity for 5*s, only the selected 5* costumes can appear
- If you have selective draw tickets, they can only be spent on selective draw banners (and this is the best one)
- You're missing key costumes for the content you're focusing on
- You're in desperate need of Powder of Hope and none of the current banners are worth drawing on
- If you're buying draws, selective draw tickets are cheaper than regular draw tickets
There are three drawbacks to this banner.
- There's no draw point exchange, so you can only convert the draw points to Powder of Hope
- There's no pickup event giving you tickets back (but you can still get them on a future rerun)
- It takes longer to get a single costume maxed out, due to the rate-up bonus being distributed across 12 costumes
List of recommended costumes for new accounts.
12Pick vs 1Pick
Only use the 1Pick banner if there are only one or two specific costumes you need or the costume in question will be on banner soon (allowing you to share the exchange for multiple banners). If you need lots of costumes, then the 12Pick is always better.
The 1Pick appears for a limited time during special events. It essentially lets you create your own pickup banner: 1.5% chance to get your chosen costume, 1.5% chance of getting any other 5* costume. It does have an exchange just like a regular pickup banner, but no pickup mission to grant you tickets back. You can change your selection up to 10 times.
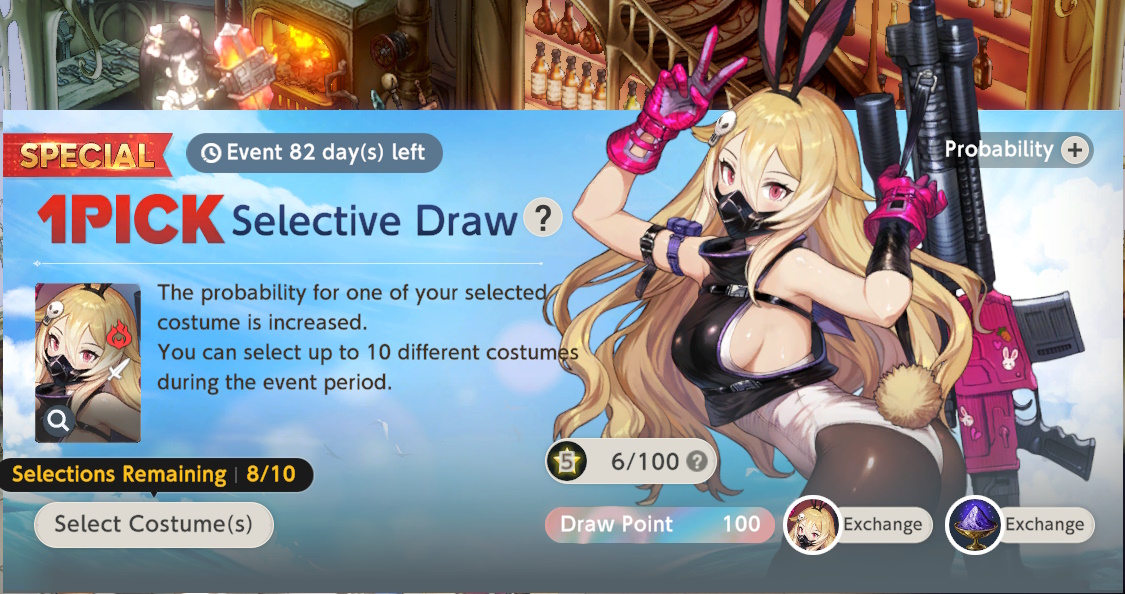
Do not use this banner unless you are a veteran and have a small handful of specific costumes you need copies of. New players need everything and benefit more from the 12Pick.
| 12Pick | 1Pick | |
|---|---|---|
| Random Costumes | 0 | 15 randoms |
| Your Picks | 30 spread randomly across 12 picks | 15 of a specific costume + 5 from exchange |
| Powder of Hope | 5 costumes' worth | 0 |
Exclusive Gear
Generally speaking, drawing on exclusive gear banners is not recommended for young accounts. They're a smaller upgrade than what a costume duplicate would give you. Unless it's for a collaboration character that will never enter the standard pool, you'll get plenty of these from free draws if you're patient. If you still insist on drawing, there are some things you should keep in mind.
- Only the character it's intended for can wear it
- Duplicates do you no good, so it's better to get it from a free draw if you can
- Only draw on the last day of the banner if you didn't get it from a free draw
- Only draw if it's for a damage character, and only if you're going to take their costume to +4 or +5
- Do not waste draws on exclusives for pure supports: they do not help those characters do their jobs better (if you're not sure, just skip exclusives that have HP for the exclusive attribute)
- If it's for a brand new character, there will be another chance to roll on the exclusive when they get their second costume in the near future
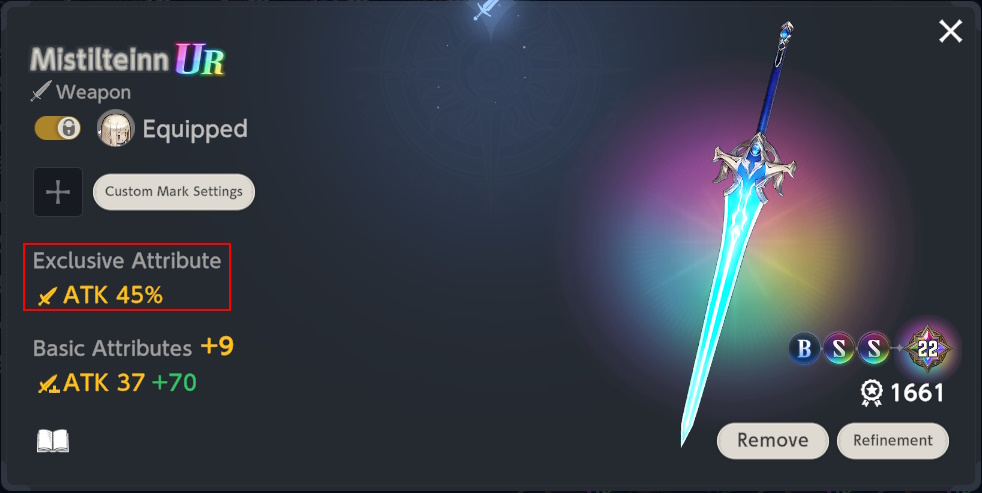
If it's for a collaboration character you really love and you've maxed out their costume(s), by all means, go for it. You might not get another chance. Just wait for the last day of the banner before you do.
Duplicate Exclusives
Getting duplicate exclusives is inevitable, even if you're only spending the daily free draws. Besides dismantling them for refining powder and crystals, the only thing they're good for is having an alternate piece of gear with different stats for the ultimate min/maxing. There's no system for exchanging them or merging them together for upgrading purposes.
UR Exclusive Gear Guaranteed Draw Ticket
These things are garbage. You have a 15% chance of getting a 5* UR, but it feels more like 0%. After a year of buying them from the Mirror Wars shop and getting them from Tower of Salvation season rewards, I got exactly 1 5* UR.
Property Selective Draw
This banner only appears if you have the corresponding ticket for it. It guarantees a random 5* costume from the standard pool belonging to the element of your choice.

Besides the one-time reward from clearing floor 50 and floor 100 of the Tower of Wrath and the Tower of Jealousy (4 total), the following locations are the best places to get them.
- Level 4 clear of Tower of Salvation (4 week reset)
- Golden Colosseum shop (monthly reset, limit 2)
You can buy an unlimited number of these in the thread shop, but by the time you can generate enough threads to buy all of the higher value things every month and still have threads leftover, they're kinda not worth buying anymore.
There are a lot of useful costumes in every element, and each one has it's own duds. The best advice I can give is to pick the element that has the most costumes you want and the lowest likelyhood of giving you threads. If I had to pick a weakest element, it would be Dark. Keep in mind that the smaller the pool, the better your odds of getting any given costume.
| Element | Characters | Costumes |
|---|---|---|
| Light | 10 | 29 |
| Fire | 9 | 28 |
| Dark | 10 | 23 |
| Water | 10 | 23 |
| Wind | 10 | 23 |
Powder of Hope
Powder of Hope is limited by the number of draws you do: one draw = 1 powder. Unlike Golden Threads, you don't get a varying amount based on the rarity of the costume you get, but you can get it from drawing on exclusives. If you're at +4 or less and fairly close to the exchange, it's usually better to draw to 200 than to wait for it to go into the powder shop.
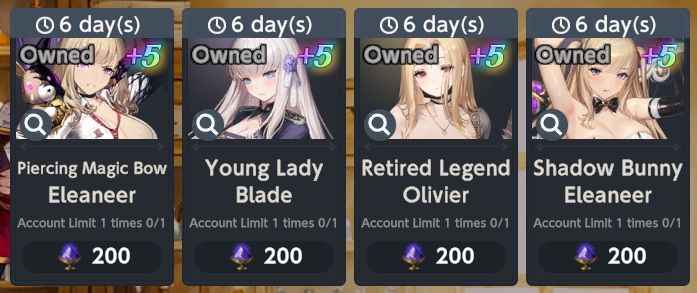
The Powder of Hope shop always has at least 4 costumes for sale and the contents change every update (2 weeks). It follows a semi-predictable pattern.
- All non-limited costumes who's banner ended since the last time the shop changed will appear, unless otherwise stated in the patch notes from the previous update. Most of the time, there's only be 2 eligible costumes.
- If there are less than 4 costumes from expired banners, wildcards will be chosen. They are typically belonging to the element that is strong against the current season's Fiend Hunt. It's not unusual for one of them to be an alternate costume for a character who currently has a costume on banner. On rare occasions, a support costume is thrown in, but there's no real pattern to it.
Costume Selective Enhancement (Selective Upgrade or Unidupe)
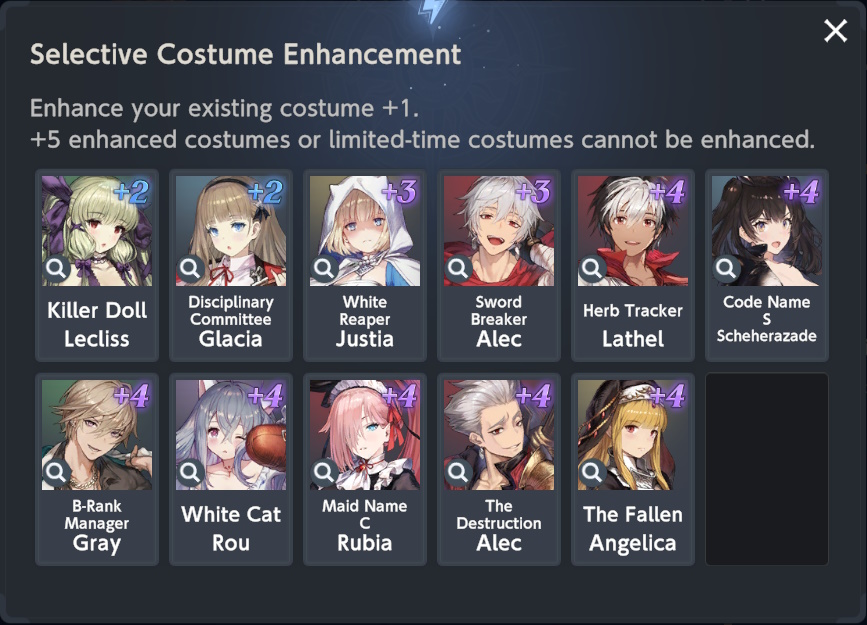
The Golden Thread Shop restocks these tickets every month and they are the highest priority item in that shop. You can use them to upgrade any non-limited costume you currently own. During anniversaries and half anniversaries, a bonus ticket is added to the shop. As long as you average ~420 costume draws per month, you can afford to buy this every time. This may sound like a lot, but it's pretty doable, even for a F2P player.
When in doubt, supports are almost always the best targets. If Fiend Hunt or Guild Raid is your priority content, then check the Fiend Hunt specific list. Be mindful of costumes that get a significant increase in performance at specific upgrades, those are usually your best targets.
My Draw Strategy
I'm committed to spending 200 draws on 2 pickup banners per month, with a hard limit of 400 per banner unless it's limited. Spending 200 draws typically yields a +2 or +3 costume if you include the exchange. As long as you're able to get all of the F2P draws, this should be doable thanks to the pickup mission reimbersement.
- Decide what my goals are for the costume I'm drawing on. Track and Field Captian Levia's best upgrade levels are +2 and +4, while +3 and +5 is best for her Overheat costume. Sometimes there's a minimum upgrade needed to make it effective in the current Fiend Hunt, which can be as low as +1 for SP reduction.
- On the first day of the banner, draw until I've reached my minimum goal (usually +2 or +3) or 200 draws minus the days remaining on the banner, whichever comes first. This leaves plenty of room to get copies from free draws without risking getting threads. Unless I had really bad luck and needed to do an exchange for that first copy, I save exchanges until I absolutely need it for Fiend Hunt. Otherwise I wait until the end of the banner.
- On the last day of the banner, evaluate how important it is to reach my final goal. If it's really important to reach my final goal for that costume and I won't reach it without spending more draws, then I'll do that before I use the exchange.
- I never draw on a new character's exclusive on it's debut banner. The earliest I will draw on an exclusive is the day the Fiend Hunt opens, and only if I need it to get into the top 1000. Ideally, though, I'd wait until the last day of the banner.
- If I have any purple tickets for the selective banners, those go into the costume 12Pick whenever I get enough for a 10-pull. Never spend the red tickets here.
If there are limiteds on the horizon, then I'll spend a little more conservatively leading up to them to try and save up some extra draws to ensure I can max them out.